How to Change Clothes in Photos with AI: Free Step-by-Step Guide
Ever had a photo where everything is perfect except your outfit? That used to mean living with it or paying for professional retouching.
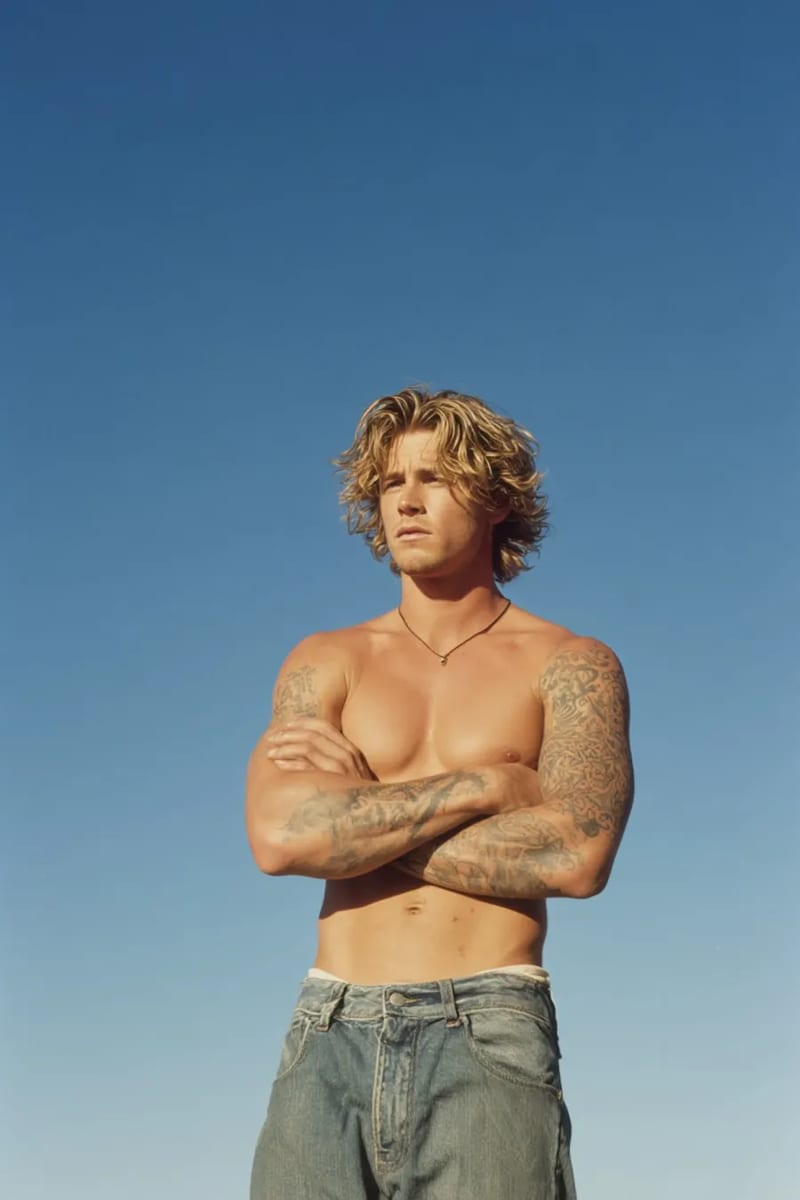
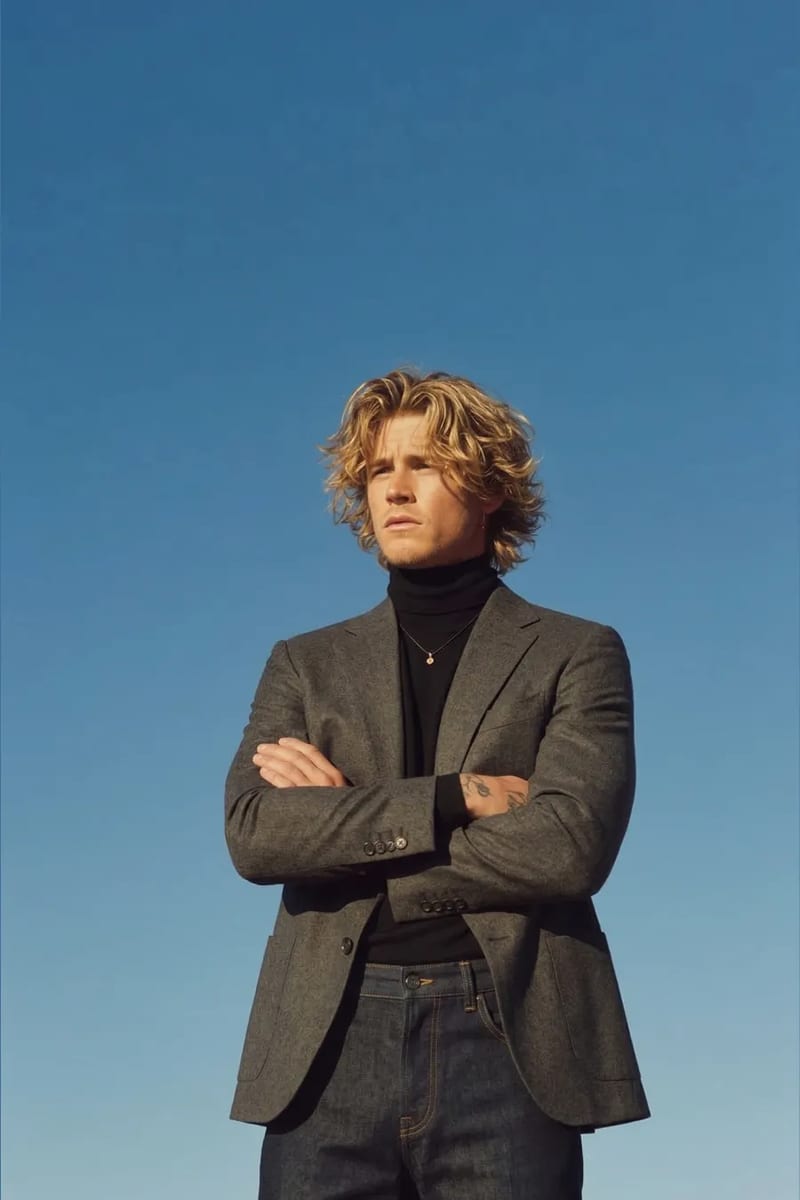
How to change clothes in photos has become dramatically easier thanks to AI. Upload your photo, provide the clothing you want, and the AI handles fabric rendering, shadow adjustment, and body contour matching — no Photoshop skills needed.
This guide walks you through the process using VizStudio’s AI clothes changer, the most reliable tool after testing a dozen alternatives, plus common problems and how to fix them.
What You’ll Need Before Starting
Gather two things: the photo you want to modify (clear image, body visible from at least waist up) and a reference image of the target clothing (product photo, flat lay, or photo of someone wearing it).
For best results, choose a source photo with decent lighting and minimal background clutter. The AI performs better when it can clearly distinguish your body from the background. If your background is busy, run the photo through VizStudio’s AI background remover first to isolate your figure.
Step 1: Upload Your Original Photo
Head to VizStudio’s AI clothes changer and upload your source photo (JPG, PNG, or most standard formats — no need to resize). Verify the person whose clothes you want to change is clearly visible. For group photos, crop to the individual person first for best results.
Step 2: Upload Your Target Clothing
Upload the reference image of your target clothing. A clean product photo on a white background works best — the AI uses it to understand the garment’s color, texture, pattern, and cut. Here’s how different reference types perform:
| Reference Type | Quality of Result | Notes |
|---|---|---|
| Product photo (white background) | Excellent | Best option — clean, clear garment details |
| Photo of garment laid flat | Good | Works well if lighting is even |
| Photo of someone else wearing it | Good | AI extracts the garment and adapts it |
| Sketch or illustration | Fair | Basic shape and color transfer, limited detail |
| Screenshot from a video | Variable | Depends on frame clarity and angle |
A reference showing the full garment (collar to hem) produces better results than a tightly cropped image.
Step 3: Generate and Review
Hit generate and wait 15-30 seconds. Check the transition areas first — neckline, wrists, waistline — where AI artifacts are most likely. If something looks off, regenerate; AI involves randomness, and a second attempt often produces better results with identical inputs.
If the color isn’t quite right, fine-tune it using VizStudio’s AI clothes color changer to adjust hue, saturation, and tone without redoing the entire generation.
Step 4: Download Your Result
Download your high-resolution PNG result. For final adjustments (cropping, brightness, text), VizStudio’s AI image editor handles post-processing without leaving the browser.
How to Change Clothes in Photos: Common Problems and Fixes
Even with a good tool, you’ll occasionally run into issues. Here’s what I’ve encountered and how I resolved each one.
The new clothes look “painted on.” This happens with flat lighting (overcast, dim rooms). The AI needs directional light cues to add depth. Fix: use a better-lit source photo or adjust brightness/contrast on the output.
Patterns look distorted. Complex patterns (plaid, florals, geometrics) are harder to map onto different poses. Fix: match the pose in your source photo roughly to the reference image. Front-facing works best with front-facing.
Skin tone mismatch at edges. A blending issue at necklines and sleeve openings. Fix: regenerate, or use a source photo with clear contrast between skin and clothing.
Group photos produce weird results. The AI gets confused about whose clothes to change. Fix: crop to the individual first, change clothes, then composite back into the group photo.
Beyond Clothes: What Else You Can Change
VizStudio’s platform offers related tools using the same workflow: the virtual wedding dress try-on is tuned for bridal gowns with complex fabric behavior, and the AI graduation photo generator adds cap and gown with proper regalia details.
Frequently Asked Questions
Can I use AI to change clothes in old or low-resolution photos?
Yes, but results depend on resolution. Photos above 500 pixels wide work consistently; smaller images show artifacts around necklines and shoulders. For older low-res photos, upscale with an AI enhancement tool first, then run through the clothes changer.
Is it legal to change someone else’s clothes in a photo?
It depends on context. Editing photos of yourself or consenting friends for personal use is fine. Publishing edited photos of someone without consent, especially in misleading ways, enters murkier ethical territory. Use common sense.
How is AI clothes changing different from Photoshop?
Photoshop requires manually masking clothing, warping replacements to match perspective, color-matching lighting, and blending edges — 30-60 minutes even for experienced editors. AI does this automatically in seconds. The tradeoff: Photoshop gives pixel-level precision, AI gives speed and accessibility. For most use cases, AI results are more than good enough.
Conclusion
AI tools like VizStudio’s clothes changer have turned outfit swapping into a 30-second process. Upload your photo, upload the outfit, click generate, and download. Start with your best-lit photo and a clean clothing reference — you’ll be surprised at how natural the result looks.
AI Video & Image Generation Suite
Video effects, virtual try-on, clothes changer, photo studio, background remover, and more — powered by the latest AI models.
AI Kissing Video
Turn photos of two people into romantic AI-animated kissing videos with realistic facial expressions and motion.
AI Kisses Video
Upload a selfie and AI generates a fun video where attractive people rush in from both sides to kiss you.
AI Hug Video
Transform photos into heartwarming AI hug videos with natural embrace animation and emotional expressions.
AI Bikini Generator
Generate a video showing a smooth, natural clothing transition into stylish bikini or swimwear outfits.
AI Muscle Generator
Create dramatic muscle growth transformation videos from your photos with realistic body animation.
AI Dance Video
Animate anyone dancing with energetic choreography, fluid body movements, and rhythmic motion.
Ghibli AI Video
Transform photos into magical Studio Ghibli-style animations with soft watercolor textures and whimsical motion.
AI GIF Generator
Create seamless looping animated GIFs from static images — perfect for social media and messaging.
AI Hanfu Transformation
Transform photos into stunning traditional Chinese Hanfu clothing videos with elegant silk robes and intricate embroidery.
AI Clothes Changer Video
Create seamless outfit transformation videos — AI cycles through 5-6 stylish outfits while preserving your identity.